Solar-powered dummy cameras offer a stealthy, eco-friendly home security solution. These cameras utilize solar energy during daylight, stored in a rechargeable battery for nighttime use. Easy to set up outdoors, they mimic real surveillance equipment with motion sensors and lights, providing flexibility, weather resistance, and hassle-free installation. Strategically placed, they deter burglars by creating the illusion of heightened security. Setup involves selecting a sunny location, assembling the camera, positioning the solar panel, connecting to power, testing functionality, and setting up remote access via cloud storage or apps.
Realistic solar-powered dummy cameras are an innovative, cost-effective deterrent for potential burglars. This article explores the effectiveness of these unassuming security solutions in preventing break-ins. We’ll guide you through understanding the technology behind them and their key advantages. Learn how to set up your own solar powered dummy camera with our simple step-by-step guide, ensuring a visible presence that could deter crime before it strikes.
- Understanding Solar-Powered Dummy Cameras
- How Effective Are These Cameras in Preventing Break-Ins?
- Setting Up a Solar Powered Dummy Camera: A Step-by-Step Guide
Understanding Solar-Powered Dummy Cameras
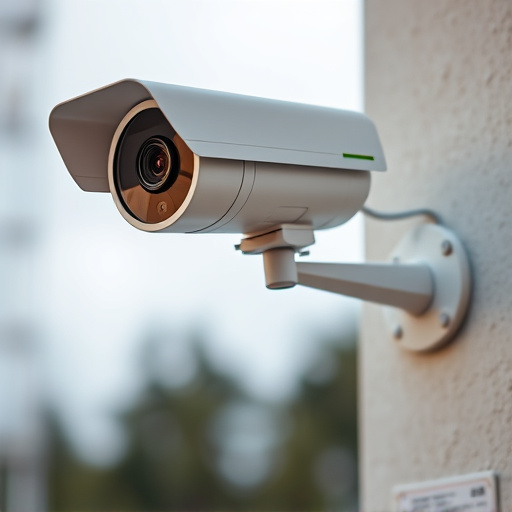
Solar-powered dummy cameras are an innovative and eco-friendly solution for home security, offering a stealthy way to deter potential burglars. These cameras operate on solar energy, drawing power from sunlight during the day and storing it in a rechargeable battery, ensuring they’re always ready to capture any suspicious activity at night or on cloudy days. The setup is simple; typically, these cameras are placed outdoors, facing areas that require monitoring, such as front doors, windows, or gardens. They mimic real security cameras with their lifelike design, often featuring flashing red lights and motion sensors to attract attention when triggered.
Unlike traditional wired systems, solar-powered dummy cameras provide flexibility in terms of placement and movement. Their wireless nature means no messy cabling, making them ideal for both permanent homes and rental properties. With a robust design that withstands all weather conditions, these cameras can be easily installed and maintained, offering peace of mind without breaking the bank.
How Effective Are These Cameras in Preventing Break-Ins?
Realistic dummy cameras, often powered by solar energy, have emerged as an innovative and effective deterrent for potential burglars. Their effectiveness lies in their ability to simulate a fully functional security system without the hefty price tag of professional installation. These Solar Powered Dummy Camera Setups provide a visual warning to intruders, mimicking real surveillance equipment that could be actively monitoring the premises.
The strategic placement of these cameras around homes or businesses creates an illusion of heightened security, often leading would-be thieves to opt for easier targets. Unlike traditional security systems, dummy cameras offer a cost-friendly solution for homeowners seeking extra peace of mind. With their unassuming appearance and reliable solar power source, they ensure a constant presence, deterring break-ins without requiring extensive wiring or complex configurations.
Setting Up a Solar Powered Dummy Camera: A Step-by-Step Guide
Setting up a solar-powered dummy camera is an easy and efficient way to enhance your home security. Here’s a step-by-step guide to ensure you get the most out of this device:
1. Select the Ideal Location: Pick a spot outside that receives ample sunlight, typically near a window or door that needs monitoring. Ensure it’s visible enough to act as a deterrent but also discreet for maximum effectiveness. Clear any obstructions like trees or buildings that might shadow the camera during critical hours.
2. Unbox and Assemble: Carefully unpackage your solar-powered dummy camera. Most models come with simple instructions for assembly. This typically involves attaching the solar panel, mounting the camera body, and ensuring the stakes are securely in place to anchor it into the ground. Ensure all components align correctly according to the manual.
3. Install Solar Panel: Position the solar panel to face the sun directly. Adjust its angle for optimal sunlight absorption during different seasons. The panel should be able to charge the internal battery, which powers the camera’s operations and storage of footage.
4. Connect and Test: Follow the instructions to connect your camera to a power source (usually through the solar panel). Test the camera’s functionality by activating it. Check its field of view, motion detection sensitivity, and ensure audio recording is clear.
5. Access Footage (if applicable): Some models offer cloud storage or an associated app for remote access to footage. Set this up following the manufacturer’s guidelines to monitor your property from anywhere at any time.
Solar-powered dummy cameras offer a cost-effective and eco-friendly solution for enhancing home security. Their realistic design, combined with the power of solar energy, makes them an effective deterrent against potential break-ins. By following a simple setup guide, anyone can quickly install these cameras, creating a safe and secure environment without breaking the bank. Embrace this innovative technology to protect your property and peace of mind.