Solar-powered dummy camera setups offer a sustainable surveillance solution with embedded panels for continuous power without external connections. Ideal for outdoor homes, businesses, or public spaces, they act as deterrents and capture high-res footage. Easy installation involves strategic solar panel placement facing south (or north in the Northern Hemisphere) and configuring settings for optimal security monitoring. These systems provide energy autonomy, reduced maintenance, and lower costs compared to wired options, with regular cleaning and careful consideration of camera specifications for best performance.
Discover the innovative world of solar-powered dummy security cameras—a sustainable and effective way to protect your property. This comprehensive guide covers everything from understanding these advanced systems, including their unique power source and capabilities, to setting up your own camera system step-by-step. Learn about the numerous benefits and considerations for optimal performance, ensuring your home or business stays secure with this cutting-edge technology.
- Understanding Solar Dummy Cameras: Power and Functionality
- Setting Up Your Solar Camera System: Step-by-Step Guide
- Benefits and Considerations for Optimal Performance
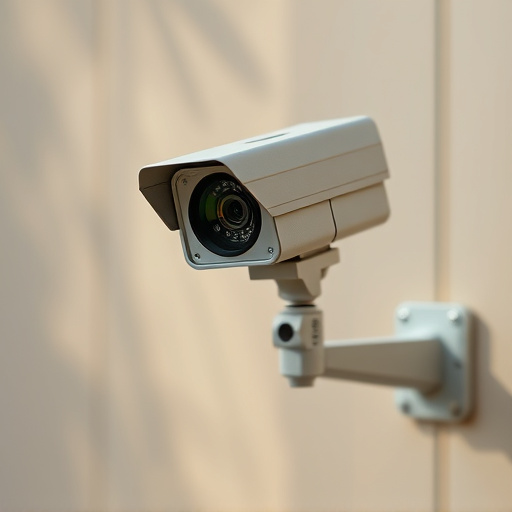
Understanding Solar Dummy Cameras: Power and Functionality
Solar-powered dummy security cameras are innovative devices that harness the energy of the sun, offering a sustainable and environmentally friendly alternative to traditional camera setups. These cameras utilize solar panels embedded within their design to convert sunlight into electricity, powering the device’s various components without relying on external power sources or batteries that require frequent replacement.
The functionality of these cameras is twofold: they act as visual deterrents by resembling real security cameras, and they capture high-resolution footage for surveillance purposes. The solar panel charges the camera during daylight hours, ensuring continuous operation without the need for complicated wiring or regular battery changes. This setup makes them ideal for outdoor installations, providing a cost-effective and efficient solution for home, business, or public space security.
Setting Up Your Solar Camera System: Step-by-Step Guide
Setting up a solar-powered dummy security camera system is surprisingly straightforward, offering a hassle-free way to enhance your home or business’s security. Here’s a simple step-by-step guide to get you started.
1. Choose Your Location: Select a sunny spot for optimal charging of the solar panel. Ensure it faces south (or north if you’re in the Northern Hemisphere) and is free from obstructions that could block sunlight. This area will also serve as the camera’s operational base.
2. Install the Solar Panel: Mount the panel securely, usually on a roof or wall, using brackets provided with your system. Align it carefully to capture direct sunlight during the day for maximum energy generation. Some panels have adjustable mounts to cater to different seasons and angles of the sun.
3. Connect the Camera: Attach your solar-powered dummy camera to the panel, ensuring all cables are securely fastened and properly routed. The camera will draw power from the panel during daylight hours, with a backup battery for night vision or cloudy days.
4. Configure Settings: Use the provided remote control or app to set up motion detection, recording preferences, and privacy settings. Tailor these to your needs, whether it’s capturing footage of specific areas or scheduling camera activity.
5. Test and Enjoy: Once installed, test the system thoroughly. Ensure the camera captures clear images, the motion sensor works accurately, and recordings are stored securely. With everything in order, you can now enjoy peace of mind knowing your property is under constant surveillance by this eco-friendly security solution.
Benefits and Considerations for Optimal Performance
Solar-powered dummy security camera setups offer a range of benefits, especially for remote or hard-to-reach locations where traditional power sources are inaccessible. The primary advantage lies in their energy efficiency; by harnessing solar energy, these cameras can operate autonomously without requiring any connection to the grid, making them ideal for long-term surveillance needs. This feature also contributes to reduced maintenance and operational costs compared to wired security systems.
When considering optimal performance, several factors come into play. Placement is crucial; ensuring the camera receives adequate sunlight exposure throughout the day will maximize its energy generation. Additionally, high-quality solar panels integrated into the design can improve overall efficiency. Regular cleaning of the panels and lenses is essential to maintain clear visuals, as dirt or debris accumulation can hinder their performance. Users should also consider the camera’s specifications, including resolution, night vision capabilities, and motion detection features, to align with their security requirements.
Solar powered dummy security cameras offer a sustainable and cost-effective solution for home or business security. By harnessing the power of the sun, these innovative devices provide continuous surveillance without the need for frequent battery replacements or costly electricity bills. Following the step-by-step guide in this article, you can easily set up your own solar camera system, reaping benefits such as enhanced visibility, deterrence against potential threats, and peace of mind. Remember that optimal performance depends on proper placement, regular cleaning, and adequate sunlight exposure. With these considerations in mind, you’re well on your way to enjoying the many advantages of a Solar Powered Dummy Camera Setup.