Solar-powered dummy cameras offer an eco-friendly, versatile security solution for homes, charging via sunlight and blending seamlessly with surroundings. To install, strategically choose a location with unobstructed sightlines, ample sun exposure, and comply with local regulations. Mount the panel facing south/north and position the camera for optimal field of view, then connect them securely.
“Enhance your property’s security with a solar-powered dummy camera setup—a smart, sustainable choice. This comprehensive guide explores the benefits and diverse types of these cameras, ideal for those seeking an efficient, eco-friendly surveillance solution. Learn how to prepare your space for installation, covering essential tips and considerations. Then, follow our detailed step-by-step process to install a solar-powered mock surveillance system, ensuring a robust and invisible security measure.”
- Understanding Solar-Powered Dummy Cameras: Benefits and Types
- Preparing Your Property for Installation: Tips and Considerations
- Step-by-Step Guide to Installing a Solar-Powered Mock Surveillance System
Understanding Solar-Powered Dummy Cameras: Benefits and Types
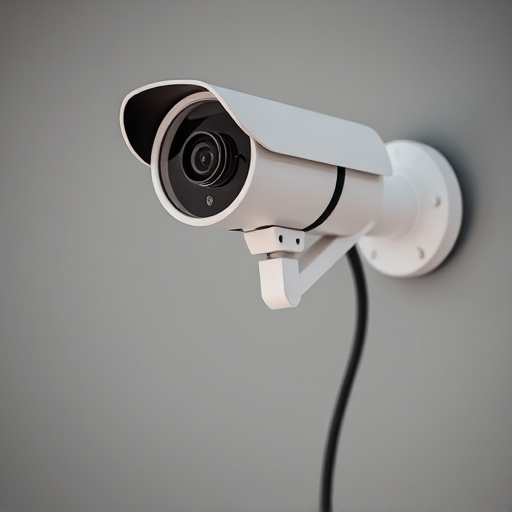
Solar-powered dummy cameras offer a unique and innovative approach to home security, providing a visually deterring element while also being environmentally friendly. These cameras utilize solar energy, harnessing the power of sunlight to charge their internal batteries during the day, ensuring they remain operational even in remote or off-grid locations. One of the key benefits is their discreet nature; as they don’t require an external power source, they can be strategically placed without drawing attention, making them ideal for deterring potential intruders.
In terms of types, solar-powered dummy cameras come in various designs and features. Some mimic real security cameras with realistic lenses and movement sensors, while others take a more playful approach with colorful designs. They can be mounted on walls or poles and are often equipped with adjustable heads to capture different fields of view. These versatile cameras provide homeowners with an effective, green alternative for enhancing their property’s security without the need for complex wiring or costly maintenance associated with traditional surveillance systems.
Preparing Your Property for Installation: Tips and Considerations
Before installing a mock surveillance system, especially one featuring solar-powered dummy cameras, it’s crucial to prepare your property thoroughly. Start by assessing your outdoor space and identifying potential placement areas for the cameras. Look for well-lit spots with clear lines of sight, ensuring these areas are within view from entry points like doors and windows. Remove any obstructions that might hinder their effectiveness, such as large trees or bushes, and trim back vegetation to create a clear zone around the camera locations. This open line of sight is vital for optimal performance.
Consider the power source, especially with solar-powered setups. Ensure your property receives ample sunlight exposure during peak hours, as this will directly impact the camera’s battery life and overall functionality. Plan for an accessible location to connect the cameras to a power source if they require backup electricity. Additionally, keep in mind any local regulations or homeowner association rules regarding security cameras to ensure compliance throughout the installation process.
Step-by-Step Guide to Installing a Solar-Powered Mock Surveillance System
Installing a solar-powered dummy camera setup can be a great way to enhance home security and deter potential intruders, especially in remote or poorly lit areas. Here’s a step-by-step guide to help you set up your own system.
Start by choosing a location for your solar-powered dummy camera. Ideally, this should be a spot with clear line of sight, ample sunlight exposure during the day, and easy visibility from inside your home or office. Mount the solar panel on the chosen location, ensuring it faces south (in the Northern Hemisphere) or north (in the Southern Hemisphere) for optimal sunlight absorption. Next, attach the dummy camera to the mounting pole or wall, positioning it at eye level or slightly higher. Verify that the camera’s field of view covers the critical areas you wish to monitor. Once the physical setup is complete, connect the solar panel and camera to each other via the provided cables, ensuring all components are properly aligned and secured.
A solar-powered dummy camera setup offers an effective, eco-friendly solution for enhancing home security. By understanding the benefits and types of these cameras, preparing your property, and following a simple installation guide, you can easily navigate the process and enjoy peace of mind knowing your space is protected. This cost-efficient and sustainable approach to surveillance is accessible to all, empowering individuals to take control of their safety without breaking the bank.